Click here to download PK’s Utility Tool
PK’s Utility Tool V1.0 has been developed to improve your productivity in Microsoft Excel. This utility tool will work with Microsoft Excel 2010 and above version.
Click here to download PK’s Utility Tool
How to install:
After downloading this addin you need to install it. Below are the steps to install it.
- Open a new workbook.
- Go to File>>Option or press (Alt+T+O)
- Click on Add-Ins.
- Select Excel Add-ins in Manage drop down.
- Click on Go.
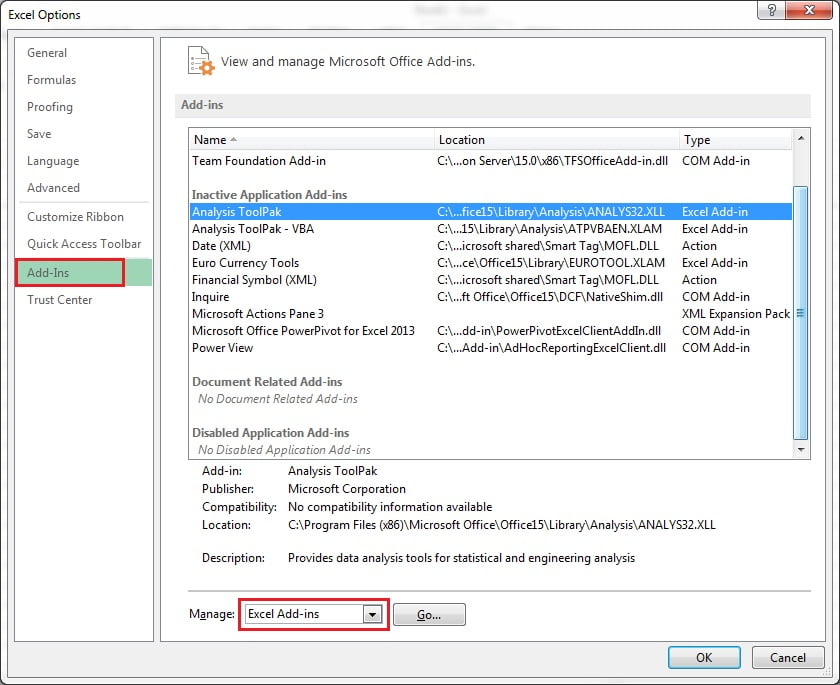
- Add-Ins window will be opened.
- Click on Browse.. button.

- Paste the PKs-Utility Tool V1.0 file in default Add-in Folder or select the file.
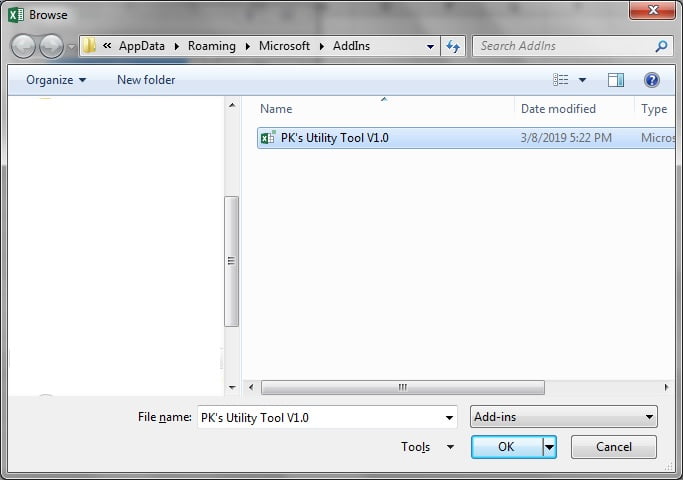
- Check the PK’s Utility Tool V1.0 and click on OK.
- Add will be install successfully.
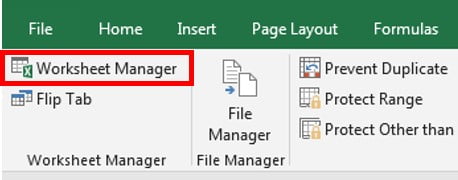
After installing this add-in, a new tab “PK’s Utility Tool V1.0” will be added in MS Excel Ribbon. There are 5 different groups are available in this tab. PK’s Function Kit will be installed automatically.

- Worksheet Manager
- File Manager
- Selection
- Object Manager
- About
1-Worksheet Manager:
In the “Worksheet Manager” Group there two buttons are available – Worksheet Manager and Flip Tab.
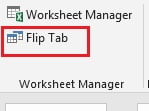
If you will click on Flip Tab button, then it will activate last used worksheet (Even if it is available in different workbook).
If you click on the Worksheet Manager button, then it will open the below given window. Details of each button has been given the image.
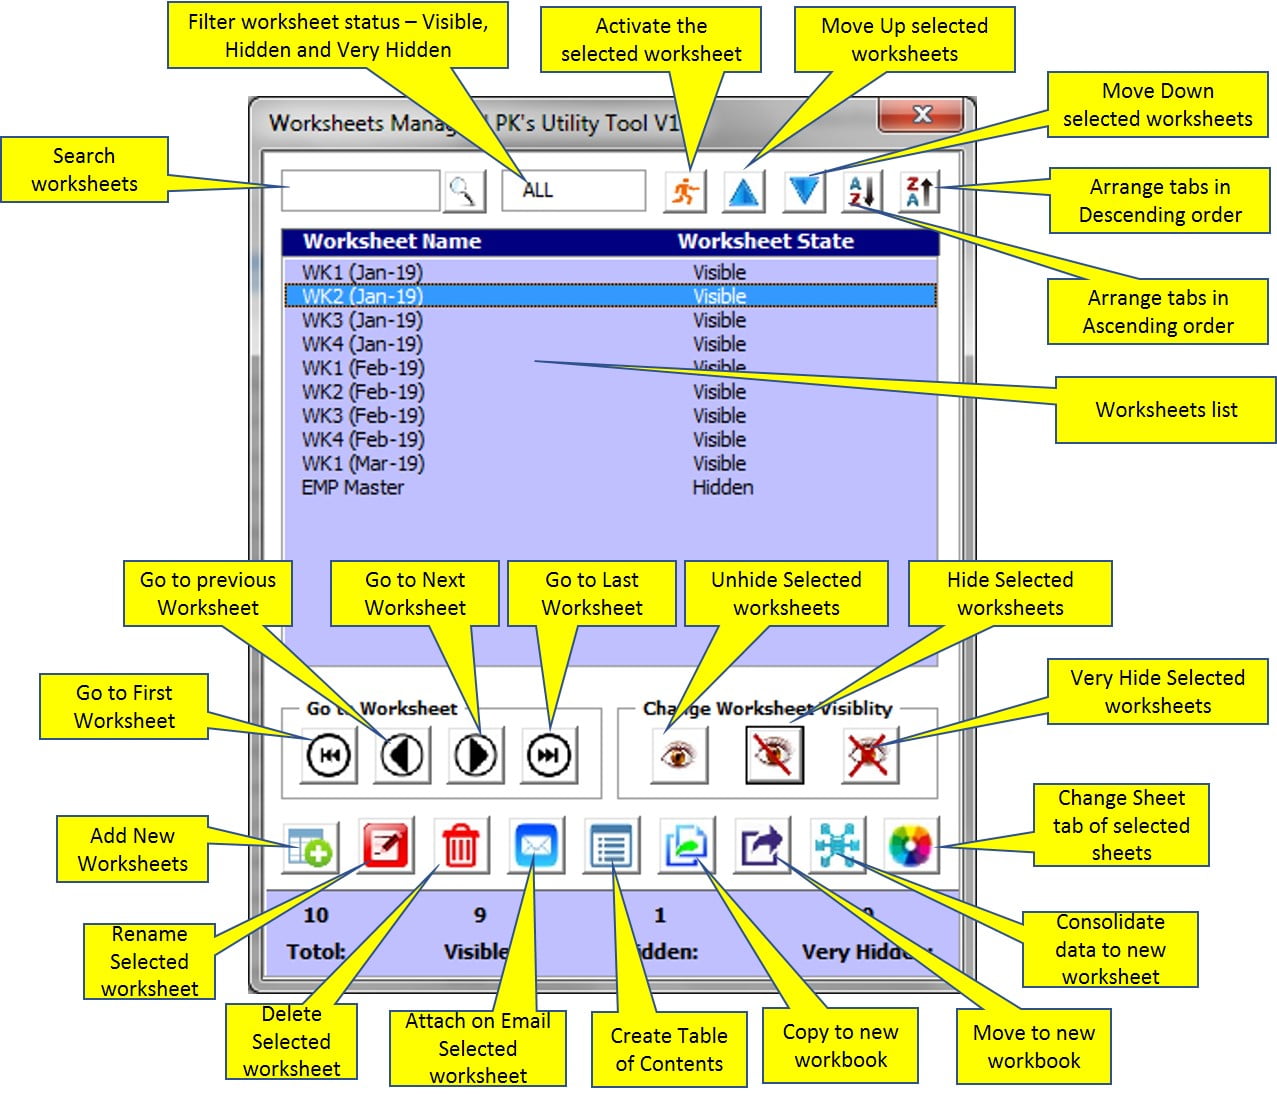
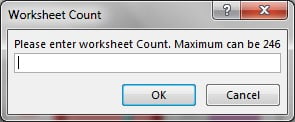
If you will click on Add New Worksheet button, then it will ask to put number of worksheets. Put the number and click on OK. New worksheets will be added in Active Workbook.
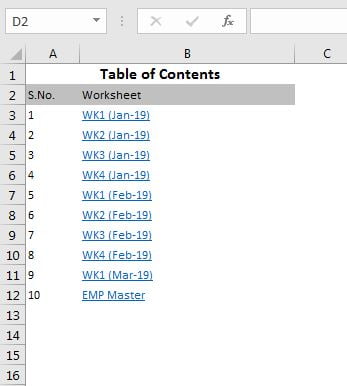
If you will click on Table of Content button, then it will create table of contents on a new worksheet.
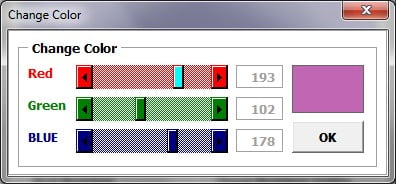
If you click on Change Tab Color button below given window will be opened. Create you color and click on OK.
At the bottom of this window worksheet of active workbook stats are available.

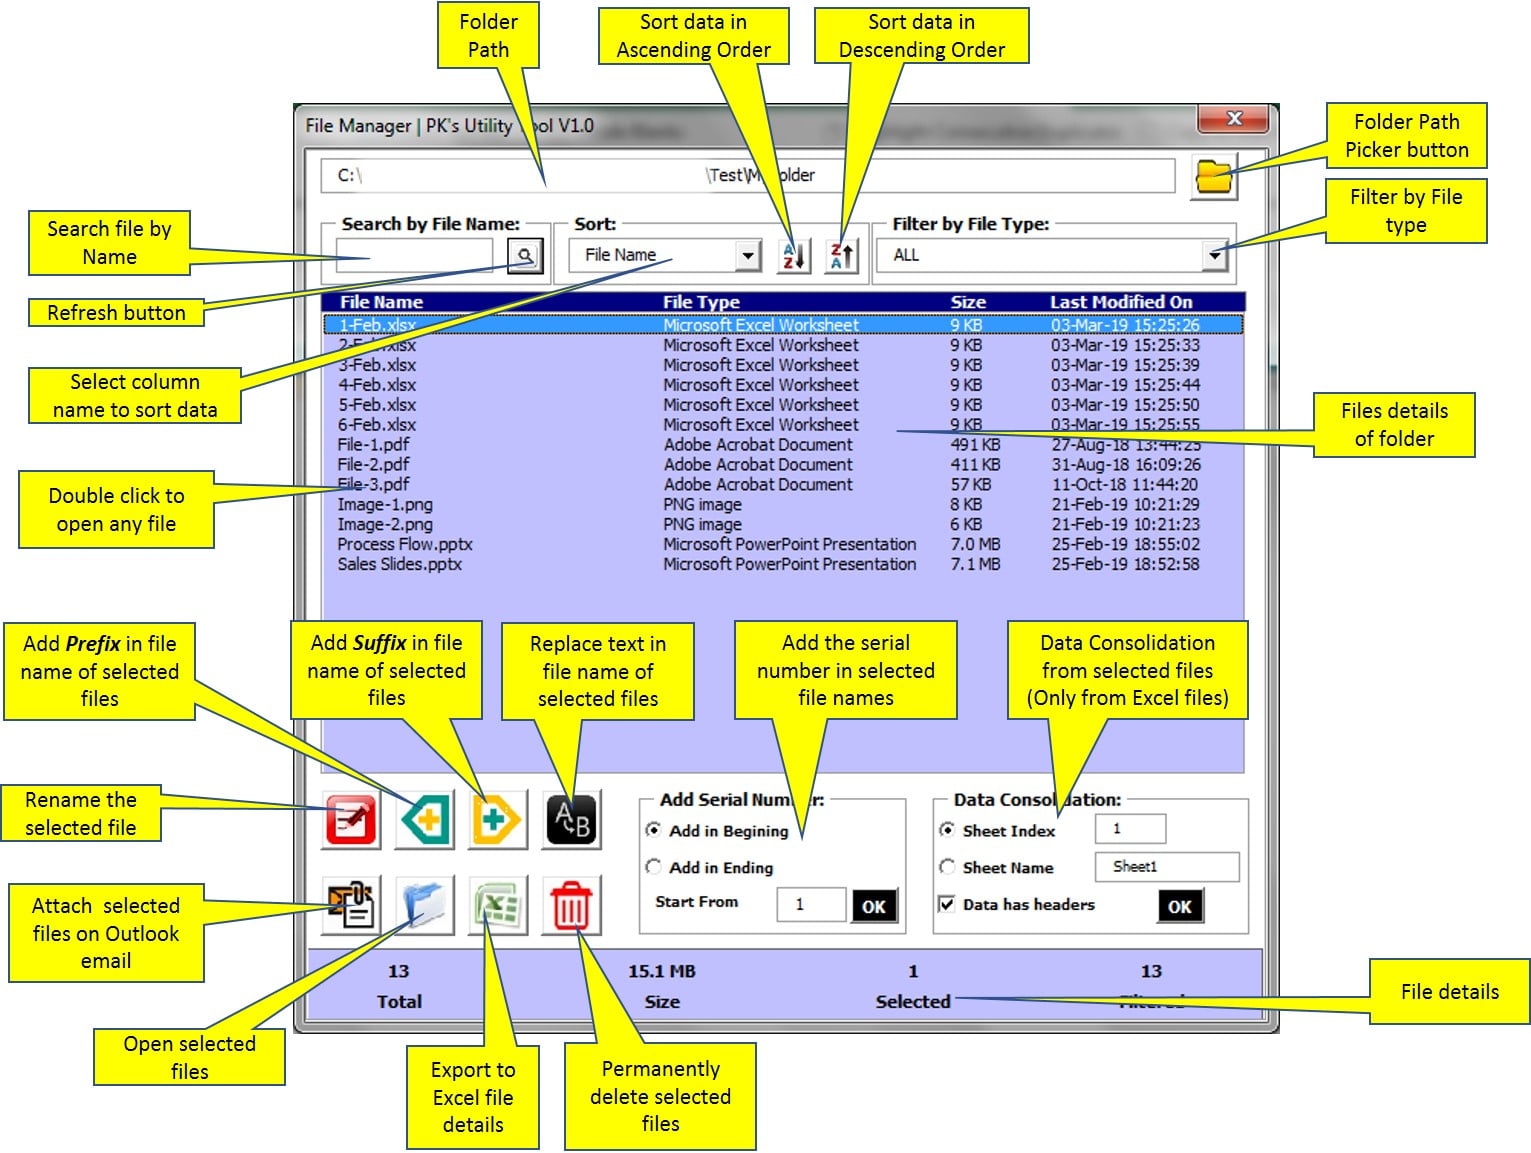
2-File Manager:
In the file Manager group, only one button is available that is File Manager. File Manager window will be opened after clicking on this button. You can manage your files of a folder as given in below image.
3-Selection:
This group has been developed to work on the selected range. There are 21 useful buttons are available in this group.

Selection Group
- Prevent Duplicate: This feature will create a data validation in the selected range to prevent the duplicate entries.
- Protect Range: It will protect the selected range to enter the data. It will also hide the formulas. You will be asked to enter a protection password. You can keep it blank if you want a blank password.
- Protect Other than Selection: In the selected range entry will be allowed and rest worksheet will be protected. You will be asked to enter a protection password. You can keep it blank if you want a blank password.
- Create Names: You can create multiple Names from the selection. It will create on name for each column. First row will be considered as header.
- Select Objects: I will select all the objects like – Shapes, Charts, Pictures etc. If there is any hidden object is available, then it will make it visible and then will select it.
- Quick Formatting: Selected range will be formatted quickly. It will ask that headers are available in your data or not. If you click on yes, then first row of selection will be highlighted in blue color.
- Delete Blanks: Blank cells will be deleted and shifted up in selected range.
- Highlight Unmatched Value: It will ask you to select a new range. Values in selected ranges will be highlighted in yellow color which are not available in New range. It works on the base of conditional formatting so if you change the value later also then still it will be highlighted accordingly. Note: It can take the New Range from same workbook only.
- Highlight Duplicate: Duplicate value will be highlighted in selected range with yellow color.
- Highlight Consecutive Duplicate: Duplicate values which are coming in continuous manner will be highlighted.
- Create Folder(s): If you want to create the multiple folders from Excel range in a parent folder then you can use this feature. Select the Excel range and click on this button, it will ask to select your parent folder wherein you want to create new folder.
- Create File: It will create a new workbook. This workbook will have worksheets as per the selected range.
- Copy to Mail body: It will paste the selected range on a new email of outlook.
- Text to Date: If your date fields are in text format then it will convert it to date format. It will work on multiple columns also. A small popup form will open, and you need to select the current data format of selected range.
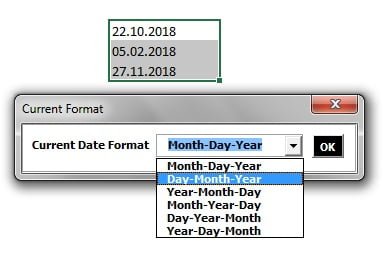
Text to date window
- Paste as Value: Selected range will be pasted as value. You don’t need use to copy and then paste special values. It works on visible cells only, so you can use it even on filtered data. Avoid for huge range selection or entire columns or rows, it may be slow.
- Upper: Selected range will be changed in capital letters. Avoid for huge range selection or entire columns or rows, it may be slow.
- Lower: Selected range will be changed in small letters. Avoid for huge range selection or entire columns or rows, it may be slow.
- Proper: First letter of each word will be capital of selected range. Avoid for huge range selection or entire columns or rows, it may be slow.
- Fill Random Values: You can use it fill the random values. You can also fill the random text. It will also “Do you want to take value from Excel sheet?”. If you click on “Yes” then It will also to select the range from there will randomly pickup the value and fill in the selection. If you click on “No” then if will also you the values separated by comma.
- Fill Down Blanks: It will fill the blanks cells with above cells values. It will work with merged cells also.
- Merge Same Cells: Cells with the same values will be merged in the selected range.
4-Object Manager:
Object Manager has been designed to manage your objects like – Shapes, Picture and charts. There are 6 useful features are available in this group.
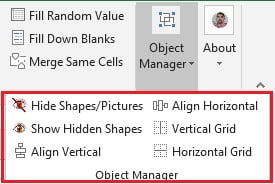
- Hide Shapes/Pictures: Selected Excel shapes or pictures will invisible.
- Show Hidden Shapes: Hidden shapes or pictures in active worksheet will be visible.
- Align Vertical: It aligned vertically selected objects. You need to input the space between objects in points.
- Align Horizontal: It aligned horizontally selected objects. You need to input the space between objects in points.
- Vertical Grid: It will create a vertical grid of selected objects. You need to input the space between objects in points and number of columns for grid.
- Horizontal Grid: It will create a horizontal grid of selected objects. You need to input the space between objects in points and number of rows for grid.
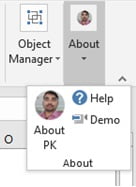
5 – About:
In this group there are three buttons are available – About PK, Help and Demo. About PK button will open the about us page of our website. Help will open this page and Demo button will open the demo video page.
PK’s Function Kit:
PK’s Function kit will be installed automatically. You don’t to add it separately. You will get 17 useful worksheet function to use. Click here to know more about these functions.
Click here to download PK’s Utility Tool
Click here to download PK’s Utility Tool
Visit our YouTube channel to learn step-by-step video tutorials