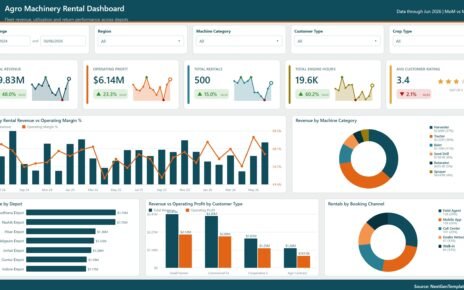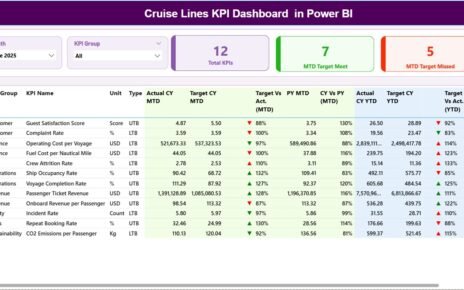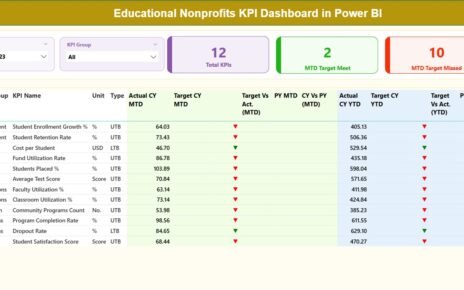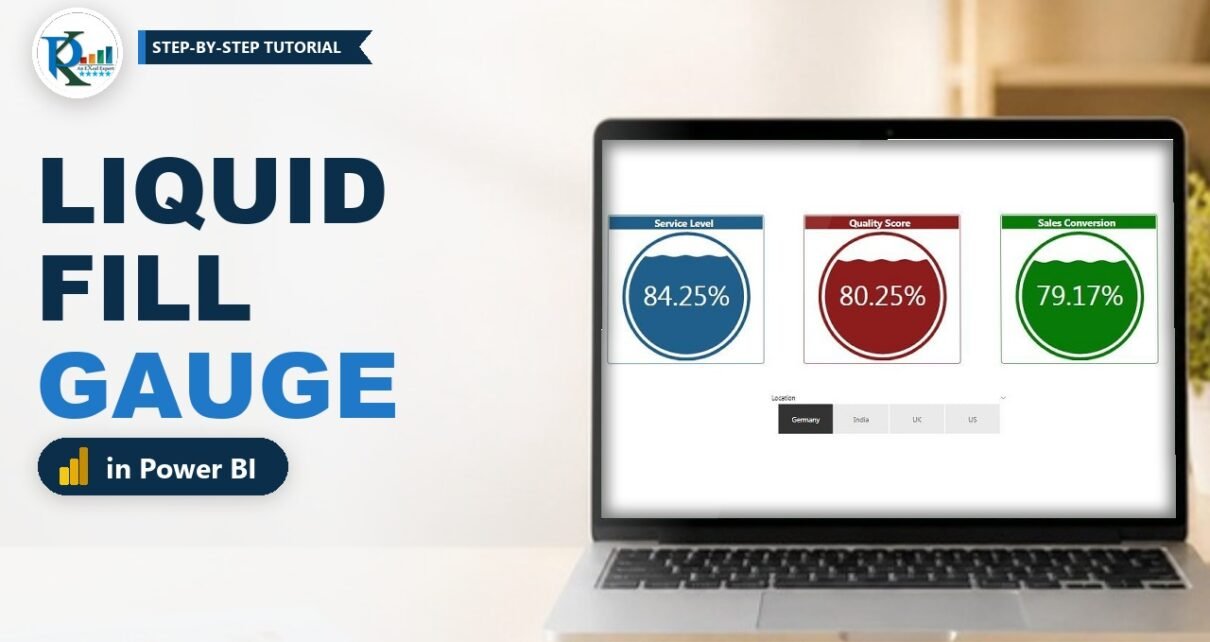
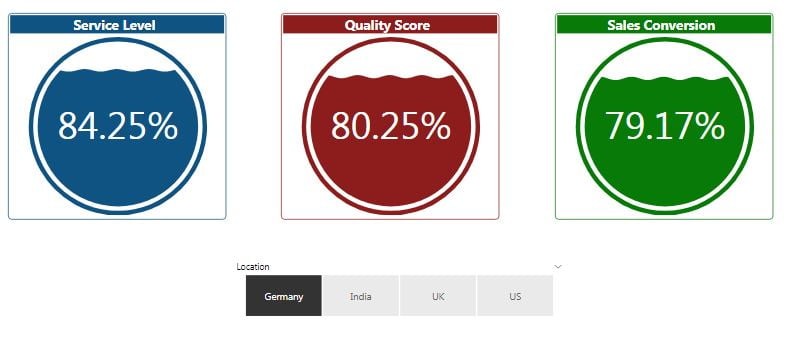
The Liquid Fill Gauge in Power BI is a custom visual that shows a single percentage as a circle filling with animated liquid. It is an eye-catching way to show KPIs such as service level, quality score or sales conversion on a dashboard. In this tutorial you import the visual, load the sample data, set it up so the percentages read correctly and format three colourful gauges with a location slicer, exactly as in the video. You also get an honest status check: the visual is not in AppSource and its source project is now archived.
⬇️ Download the Liquid Fill Gauge Practice File
.zip with one .pbix file (about 100 KB) · Power BI Desktop · Liquid Fill Gauge v1.0.4 embedded
Watch the Video Tutorial
In the video PK downloads the visual from GitHub, imports it from a file, loads an Excel sheet, fixes the percentage scale and formats the Service Level gauge step by step, then adds a horizontal Location slicer.
Is the Liquid Fill Gauge Still Available?
Before you build a report around a custom visual, check where it comes from. Here is what we found on 9 October 2026:
| Where | Status |
|---|---|
| Microsoft AppSource (Marketplace) | Not listed. Searches for liquid fill gauge and liquid fill on 9 October 2026 return no Liquid Fill Gauge visual. PK already noted in the 2019 video that it was not on the marketplace. |
| GitHub project | jongio/PowerBI-visuals-liquidFillGauge by Jon Gallant, MIT licence. Archived and read-only since June 2026; last code change in 2020. |
| Latest release | v1.0.4 (December 2018), a liquidFillGauge.pbiviz file on the Releases page. |
| Practice file | Contains Liquid Fill Gauge v1.0.4 already embedded, so you can open it without importing anything. |
What this means for you: the visual is embedded in the practice file as published in 2019, but nobody maintains it any more, it is not certified, and we have not re-tested it in the current Power BI Desktop. Use it for learning, personal reports or prototypes, and test carefully before you put it in a shared or business-critical report. A built-in alternative is shown further down.
What You Will Build
- Three Liquid Fill Gauges for Service Level, Quality Score and Sales Conversion.
- Correct percentage display for values stored as decimals.
- Matching colours for text, circle, wave, title bar and border.
- A horizontal Location slicer for Germany, India, UK and US that animates the gauges.
Part 1 – Get the Visual and the Data
Step 1: Download the visual file
The visual comes from the GitHub project listed above. In the video PK downloads the project as a ZIP and extracts it to find the visual file. Today the simplest route is the project’s Releases page, where v1.0.4 offers liquidFillGauge.pbiviz directly. If you only want to explore, skip this step and open the practice file: the visual is already inside it.
Step 2: Import the visual from a file
Open a blank report in Power BI Desktop. In the Visualizations pane, click the ellipsis (…), choose Import a visual from a file, select the .pbiviz file and click Open. When Power BI reports that the visual was imported successfully, click OK. A new Liquid Fill Gauge icon appears at the bottom of the Visualizations pane.
(Addition.) The 2019 interface in the video shows this under Import a custom visual > Import from a file. Current Power BI Desktop may show a caution message about files from outside AppSource; click Import only if you trust the file. Your organisation’s Power BI admin can block uncertified visuals altogether.
Step 3: Load the data
Choose Get Data > Excel, select your workbook, tick Sheet1 and click Load. The sample sheet has five columns: Month, Location, Service Level, Quality Score and Sales Conversion. The three KPI columns hold percentages as decimal numbers, so 80% is stored as 0.8.
Part 2 – Create and Configure the Liquid Fill Gauge in Power BI
Step 4: Add the gauge and the value
Click the Liquid Fill Gauge icon to place an empty gauge on the page. The visual has a single Value field well. Drag Service Level into it and set the aggregation to Average, as in the video.
Why Average? Service level is a rate. If several months sit in the current filter, Sum adds the rates together and can show more than 100%. (In the practice file two gauges use Sum and one uses Average. That gives the same result only when one row per location is in view, so Average is the safer choice.)
Step 5: Fix the percentage scale
Open Format > Text. The gauge expects values from 0 to 100 by default, but your data runs from 0 to 1, so 0.8 would show as a tiny 0.8%. You have two options, both shown in the video:
- Set Max Value to 1 and turn Calculate Percentage on. The practice file uses this setting.
- Or keep the maximum and set Multiply By to 100.
Keep Display Percent Sign on, and set the text Size to about 0.85 so the number fills the circle nicely. Count Up, switched on in the video, makes the number count up as the liquid rises.
Part 3 – Format the Gauge
Step 6: Apply one colour to text, circle and wave
Pick a strong colour and copy its hex code (PK uses a colour code website). Then, with the gauge selected:
| Format card | Setting | Value in the example |
|---|---|---|
| Text | Size | 0.85 |
| Text | Max Value | 1 (because the values are stored as 0 to 1) |
| Text | Calculate Percentage / Display Percent Sign | On / On |
| Text | Text Color | Custom hex, for example #0f5382 |
| Text | Wave Text Color | White |
| Circle | Circle Color | Same hex as the text |
| Circle | Circle Thickness | Optional, for example 0.03 |
| Wave | Wave Color | Same hex |
| Wave | Wave Count | Optional, for example 3 or 9 |
| Title | Text, font colour, background, alignment, size | Service Level, white, same hex, centre, 14, Segoe UI Bold |
| Border | On, colour, radius | Same hex, radius 5 |
The practice file uses #0f5382 (blue) for Service Level, #8d1d1d (dark red) for Quality Score and #077a07 (green) for Sales Conversion. Dark colours keep the white wave text readable.
Step 7: Add the title bar and the border
Turn the Title on, type the KPI name, set the font colour to white, the background to the same hex code, alignment to centre, size 14 and a bold font. Then turn the Border on with the same colour and a radius of about 5. The gauge now looks like a finished card.
Step 8: Build the other two gauges
Copy the first gauge twice. In each copy, replace the field with Quality Score or Sales Conversion, keep Average, and change the hex code in the text, circle, wave, title and border settings.
Part 4 – Add the Location Slicer
Step 9: Slice the gauges by location
Add a Slicer, put Location in it and set its orientation to Horizontal in the Format pane, so Germany, India, UK and US appear as buttons. Click a location and all three gauges animate to the new values.
Built-in Alternative (Optional Addition)
This section is an addition to the video. If you cannot use uncertified or unmaintained visuals, the built-in Gauge visual shows the same KPI. Put the average of Service Level in Value, set Minimum to 0 and Maximum to 1 in the Gauge axis settings, and format the value as a percentage. You lose the wave animation, but the visual is supported in every Power BI feature. For a wave-style look, search AppSource for fill level visuals and test them first.
Common Errors and Fixes
The gauge shows 0.8% instead of 80%
The scale does not match your data. Set Max Value to 1 with Calculate Percentage on, or use Multiply By 100 (Step 5).
The gauge shows more than 100%
The value uses Sum across several rows. Switch the aggregation to Average, or use a measure that calculates the rate correctly.
The visual does not appear, or shows a warning
(Addition.) Your admin may block uncertified visuals, or the old v1.0.4 code may not render in your Power BI version. Try the practice file on a personal setup, and if it still fails, use the built-in Gauge.
Refresh fails in the practice file
(Addition.) The practice file still points to PK’s original Excel path. The data is stored in the file, so the visuals work, but to refresh you must point the query to your own workbook in Power Query.
Tips
- Give every gauge a clear title so readers know what the percentage measures.
- (Addition.) Uncertified visuals have limits, for example in PowerPoint export and email subscriptions. See Microsoft’s page on certified Power BI visuals.
- Microsoft Learn explains how to import Power BI visuals from AppSource or from a file.
Want It Ready-Made?
If you need service-level KPIs in a complete, ready-to-use report, the Customer Support SLA KPI Dashboard in Power BI on NextGenTemplates.com tracks SLA performance with built-in visuals. Browse all Power BI KPI dashboard templates for other topics.
Related Tutorials
- Power BI Infographic Designer: Cards and Chart Examples
- Customer Support SLA KPI Dashboard in Power BI
- Filling Circle Chart in Excel (a fill gauge without add-ins)
- Stylish Traffic Lights in Excel for the same three KPIs
Frequently Asked Questions
Is the Liquid Fill Gauge still available in Power BI AppSource?
No. On 9 October 2026 it does not appear in AppSource, and it was not listed there when the video was made in 2019 either. The only source is the original GitHub project, which its author archived in June 2026, so it gets no further updates.
Can I still use the Liquid Fill Gauge in my reports?
You can import the v1.0.4 pbiviz file from the GitHub releases page or open the practice file, which has the visual embedded. Because it is old, uncertified and no longer maintained, test it in your own Power BI Desktop and service before you rely on it, and keep a built-in fallback ready.
Why does my gauge show 0.8% instead of 80%?
Your values are stored as decimals between 0 and 1. Either set Max Value to 1 and turn on Calculate Percentage, as in the practice file, or keep Max Value at 100 and use Multiply By 100.
Should I use Sum or Average for the value?
For rates such as service level or conversion, use Average, as PK does in the video. Sum only works when exactly one row is in the filter context; with several months it can add up to more than 100 percent.
What can I use instead of the Liquid Fill Gauge?
The built-in Gauge visual with a minimum of 0 and a maximum of 1 shows the same percentage without any custom visual. If you want the wave look, search AppSource for fill level or tank visuals, such as Fill Level Indicator, and check each one in your own environment.
About the Author
PK is a Microsoft Excel expert and trainer and the founder of PK: An Excel Expert and NextGenTemplates.com. He has been teaching Excel, Power Query and Power BI since 2016 on his YouTube channel. Find more of his Power BI tutorials on this site.
Conclusion
The Liquid Fill Gauge in Power BI turns a plain percentage into an animated, eye-catching KPI. Import the visual, use Average for rates, set Max Value to 1 with Calculate Percentage on, and match the text, circle, wave, title and border colours. Just remember its status: it is not in AppSource and its GitHub project is archived, so test it before you rely on it, and keep the built-in Gauge as a dependable fallback.