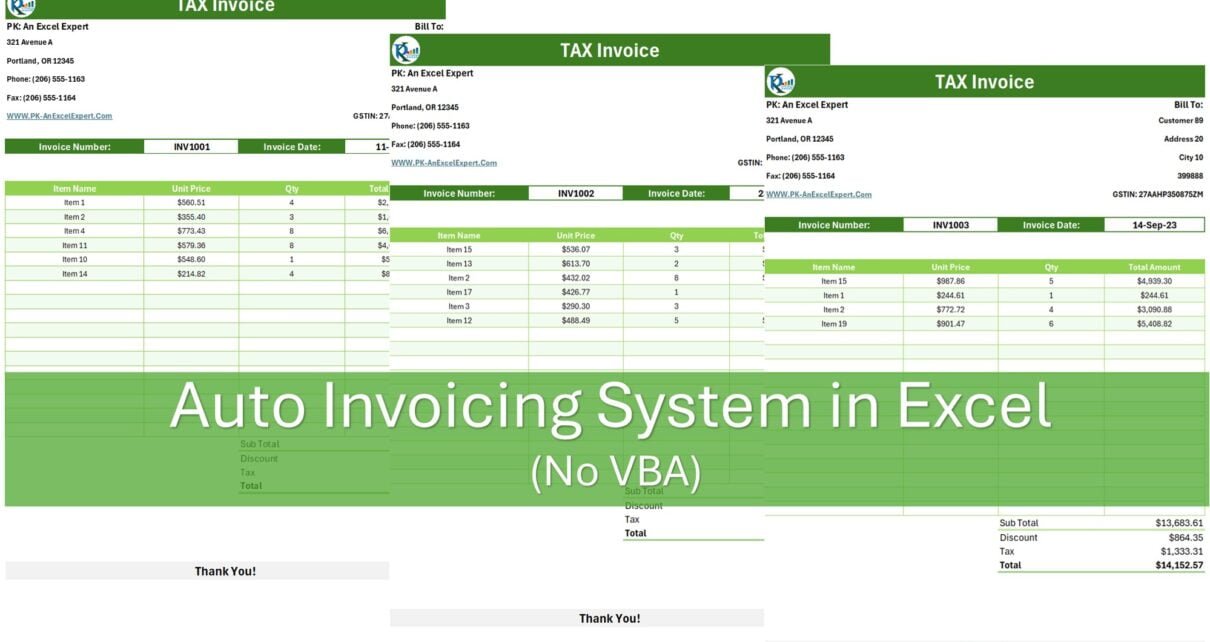
Creating efficient and accurate invoicing systems is crucial for businesses of all sizes. Our latest template Auto Invoicing in Excel is a powerful formula features, offers a robust platform for automating invoice generation without the need for complex VBA programming. In this article, we’ll explore how to set up auto-invoicing in Excel using just formulas, making the process accessible to anyone with basic Excel knowledge.
Also see our latest template
Understanding the Auto Invoice Setup
Before we dive into the specifics, let’s understand the structure of our Excel auto invoicing system. Our setup consists of two main worksheets: Invoice Data and Invoice Template.
In this template, we have 2 worksheets:
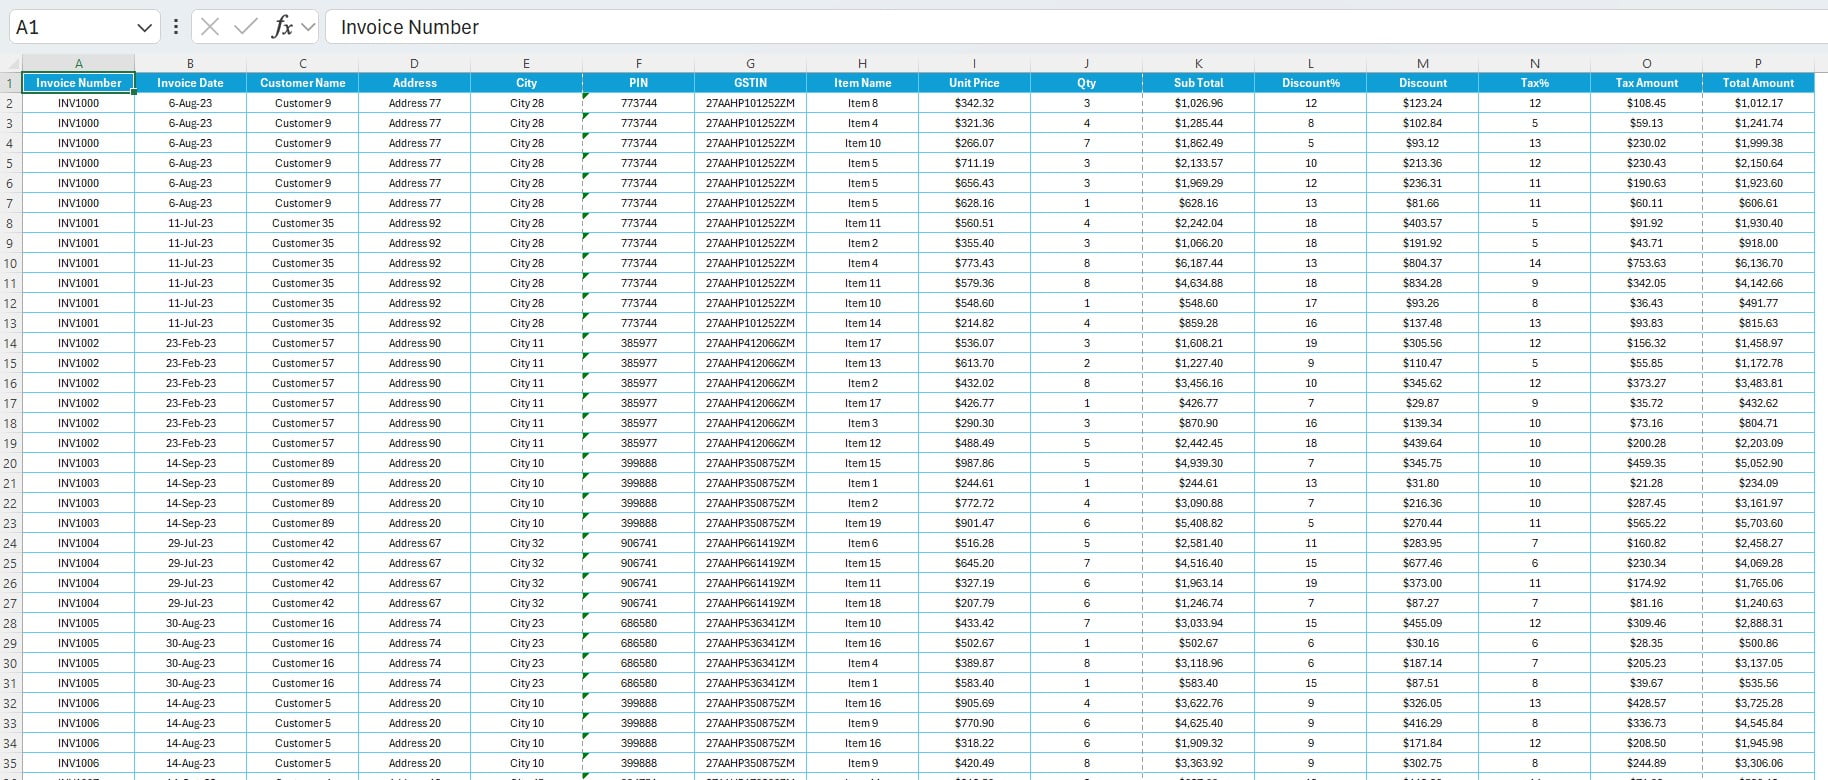
1) Invoice Data:
In this worksheet, we have invoices related data. We have here Invoice Number, Invoice Date, Customer Name, Address, City, PIN, GSTIN, Item Name, Unit Price, Qty, Sub Total, Discount%, Discount, Tax%, Tax Amount and Total Amount columns in the data. we have converted this excel range to a table and changed the name of the table as “Inv_Data”
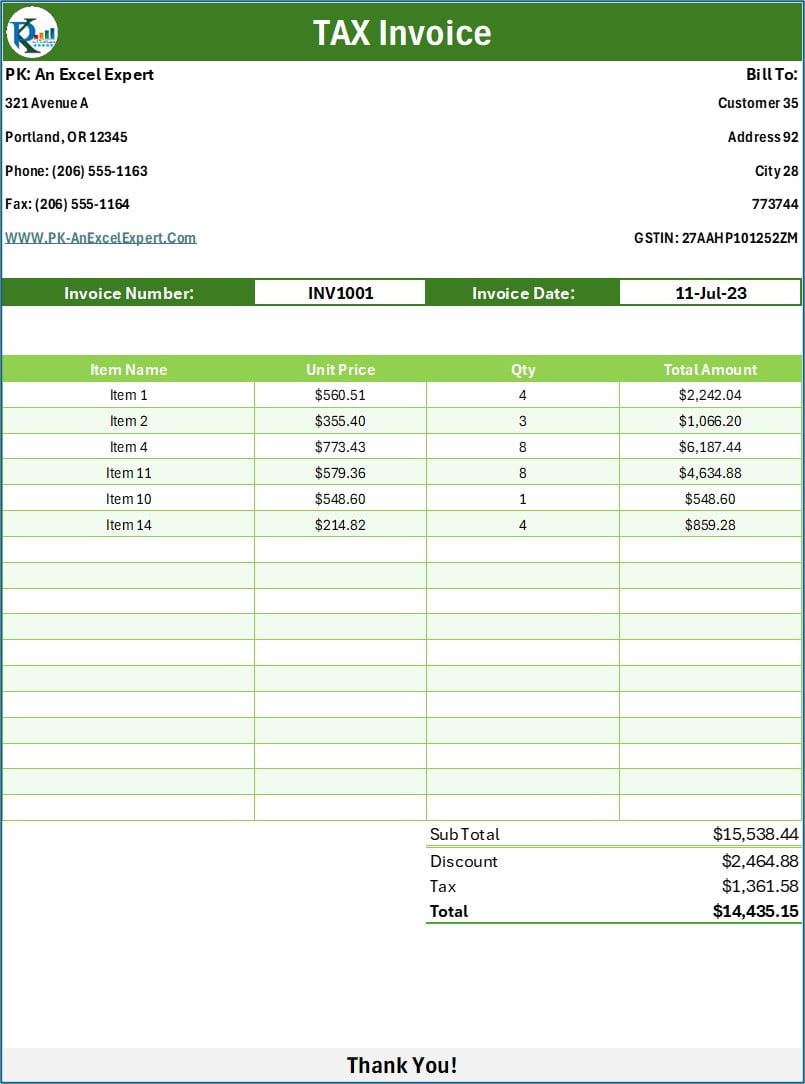
2) Invoice Template:
This is the main printable worksheet. You can just change the invoice number on cell B10 and everything will be changed automatically.
In this invoice template, we have used multiple formulas in the different sections. Below are the details of section wise each formula-
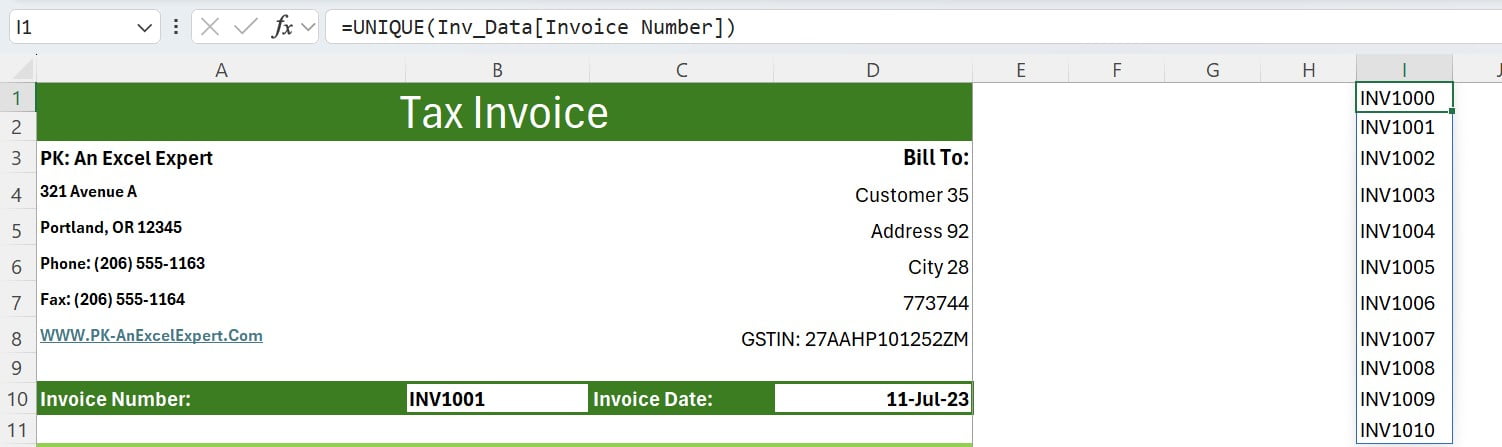
Unique Invoice Number to create drop-down:
First, we have created the unique of the invoice numbers on column I. we have used the Unique function to create the list:
=UNIQUE(Inv_Data[Invoice Number])
Just create the name of cell B10 as “Invoice_Number” using the Name Manager or Name Box.
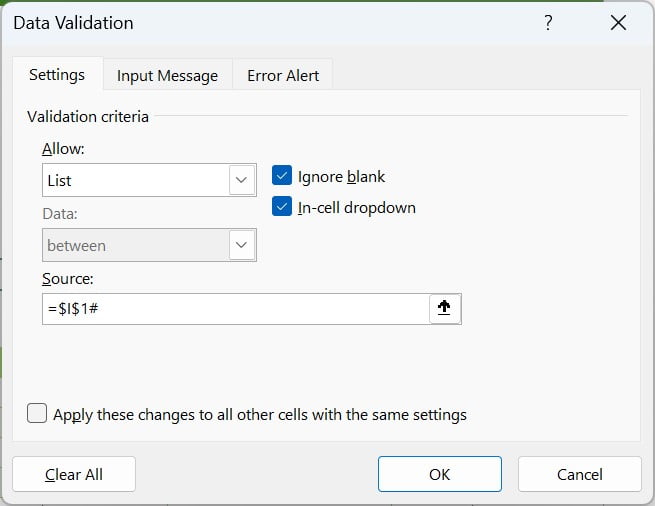
Now, we have created a drop-down list of these invoice numbers on the cell B10 using Data Validation. Below are the steps-
- Select cell B10 and press Alt + D + L Shortcut key.
- Data Validation window will be appeared.
- On the Setting tab, select the List in Allow drop-down.
- Put the formula “=$I$1#” and click on OK
Now drop-down list will be created for all the invoice numbers. And, this will be a dynamic list. As you add new invoice number in the data, that will appear automatically in this list.
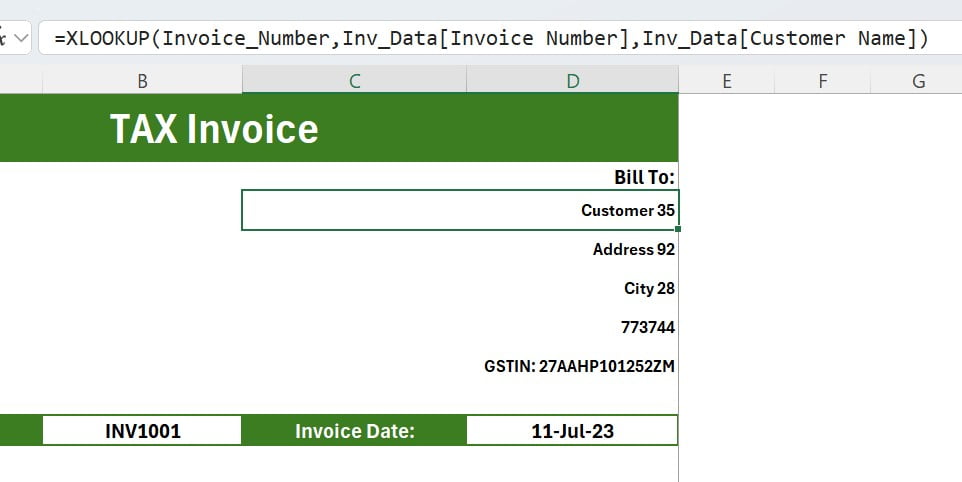
Formulas for “Bill To” and Invoice data section:
We have used below given formulas in the bill to section to get the Customer Name, Address, City, PIN and GSTIN of the customer-
Formula for Customer Name
=XLOOKUP(Invoice_Number,Inv_Data[Invoice Number],Inv_Data[Customer Name])
Formula for Customer Address
=XLOOKUP(Invoice_Number,Inv_Data[Invoice Number],Inv_Data[Address])
Formula for City
=XLOOKUP(Invoice_Number,Inv_Data[Invoice Number],Inv_Data[City])
Formula for Custom’s PIN Code
=XLOOKUP(Invoice_Number,Inv_Data[Invoice Number],Inv_Data[PIN])
Formula for Customer’ GSTIN
="GSTIN: " & XLOOKUP(Invoice_Number,Inv_Data[Invoice Number],Inv_Data[GSTIN])
Formula for Invoice Date
=XLOOKUP(Invoice_Number,Inv_Data[Invoice Number],Inv_Data[Invoice Date])
Formula for Item Details:
To show the item label detail, we have used below formula. Here, we are showing Item Name, Unit Price, Qty and Total Amount
Formula for Item Details
=FILTER(Inv_Data[[Item Name]:[Sub Total]],Inv_Data[Invoice Number]=Invoice_Number)

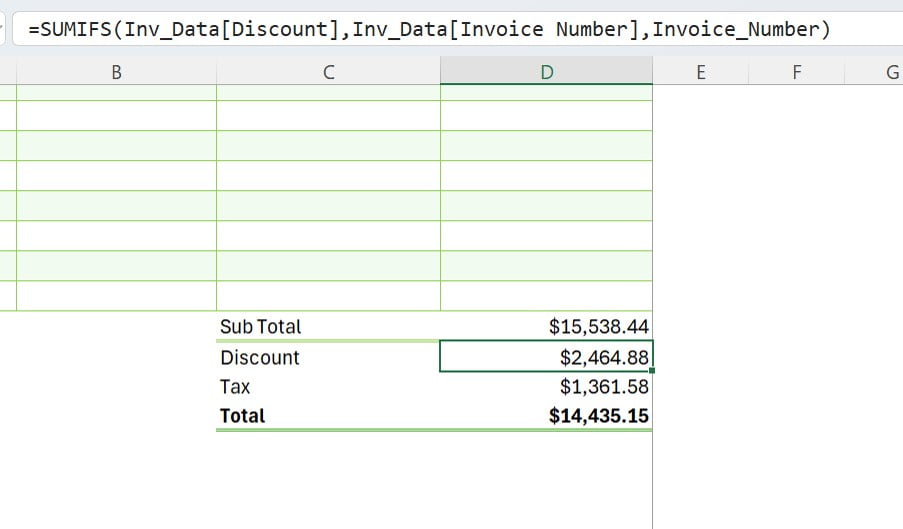
Total and Subtotal Formula:
In the bottom section, we are showing the Subtotal, Discount, Tax and Total Amount. Below are the formulas
Formula for Subtotal
=SUM(D13:D30)
Formula for Tax
=SUMIF(Inv_Data[Invoice Number],Invoice_Number,Inv_Data[Tax Amount])
Formula for Total Amount
=D31-D32+D33
Advantages of Auto Invoicing in Excel
- Efficiency: This will increase your efficiency by automates repetitive tasks. You can just select or enter the invoice number and whole invoice will be created automatically. So, It saves time and reduces errors.
- Accuracy: Because, we have used excel formulas to it ensures calculations are correct and improve financial accuracy.
- Customization: It is easily adaptable to specific business needs without extensive programming knowledge. You can just convert it in your own format.
- Accessibility: Utilizes familiar Excel functionality, making it accessible to a wide range of users.
Opportunities for Improvement
While this is a powerful invoice template, but still there are always opportunities for enhancement. Like, integrating more advanced data validation checks or incorporating conditional formatting to highlight key information dynamically. And, we can add automate PDF generation or auto email to customer.
Best Practices for Auto Invoicing in Excel
- Maintain Data Integrity: You should update your data in proper format regularly.
- Use Named Ranges: You can create the named range for each formula to enhance readability.
- Document Your Setup: Create a guide document to keep a record how to fix the formula is there is any error.
Conclusion
Auto invoicing in Excel using formulas offers a powerful template to streamline invoicing processes. This is a ready to use template. You can download it from the link given at bottom of this article.
Frequently Asked Questions with Answers
Q. Do I need advanced Excel skills to set up auto invoicing?
A. You just need to have basic to intermediate Excel knowledge. Just learn the functions like XLOOKUP and FILTER.
Q. Can this system handle multiple currencies?
Yes, but you may need to incorporate additional formulas to manage currency conversion rates.
Q. How can I make my invoice template look more professional?
You can customize this template as per your requirements.
Q. Is it possible to automate sending these invoices via email?
Yes, It is possible but we have used the VBA code to do it. Alternatively, you can use “Email as PDF format” functionality of Excel.
Visit our YouTube channel to learn step-by-step video tutorials
Watch the step-by-step video tutorial:
Click here to download the practice file


