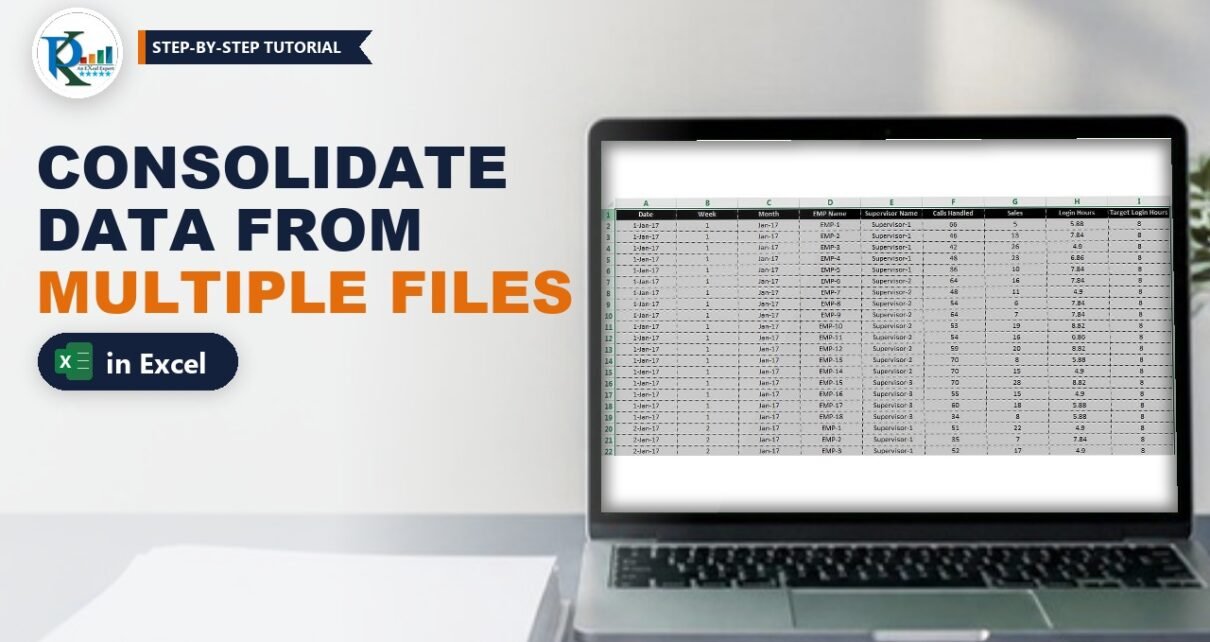
Data consolidation from multiple files in Excel is one of those jobs that eats hours when you do it by hand: open a file, copy the rows, paste them under the last block, close it, repeat. In this tutorial you build a VBA macro that does it in seconds. You click one button, pick as many workbooks as you like, and the macro stacks all their rows into one sheet, removes the repeated headers, formats the result and writes a log of how many records came from each file.

Watch the Video Tutorial
Part 1 builds the workbook, the Clear macro and the consolidation loop. Part 2 closes each source file, removes the extra headers and formats the output.
What You Will Build
- A Logs sheet with a File Name column, a Records Updated column and two buttons.
- A file picker that lets you select one, some or all source workbooks at run time.
- A consolidation loop that opens each file, copies its data under the last row and closes it without saving.
- Header clean-up that removes the repeated header row of every file after the first.
- Automatic formatting of the final table, plus a Clear button to start again.
Before You Start
This macro is designed for similar data. In the video every source file has a single sheet, the same headers in row 1 and the data directly below, for example daily files named 1-Jan-18.xlsx to 5-Jan-18.xlsx. Only the number of rows changes from file to file. If your files have different columns, line them up first.
Part 1 – Set Up the Data Consolidation Workbook in Excel
Step 1: Create the two sheets
Press Ctrl+N for a new workbook and create two sheets: Consolidated_Data, where the combined rows will land, and Logs. On Logs, type File Name in A1 and Records Updated in B1.
Step 2: Draw the buttons
Insert two rounded rectangles from Insert → Shapes, pick a shape style, then right-click → Edit Text to label them Clear Data and Consolidate Data. Give them different colours so they are easy to tell apart.

Part 2 – The Clear Data Macro
Open the VBA editor (Alt+F11), choose Insert → Module and add:
Sub Clear_Data()
Dim sh As Worksheet
Set sh = ThisWorkbook.Sheets("Consolidated_Data")

Dim logs As Worksheet
Set logs = ThisWorkbook.Sheets("Logs")

logs.Range("A2:B" & Application.Rows.Count).ClearContents

sh.Cells.Delete

MsgBox "Data has been removed!!", vbInformation

End Sub
The first line clears every log entry below the headers, so the Logs table and its buttons stay in place. sh.Cells.Delete wipes the whole Consolidated_Data sheet, including any old formatting. Right-click the Clear Data button → Assign Macro → Clear_Data.
Part 3 – The Consolidate Data Macro
Insert a second module and build the main macro in three blocks.
Step 3: Pick the files and loop through them
Sub Consolidate_Data()
Dim sh As Worksheet
Set sh = ThisWorkbook.Sheets("Consolidated_Data")

Dim logs As Worksheet
Set logs = ThisWorkbook.Sheets("Logs")

Dim wb As Workbook
Dim dsh As Worksheet

Dim i As Integer
Dim n, x As Long

Dim arr

arr = Application.GetOpenFilename(MultiSelect:=True)

For i = LBound(arr) To UBound(arr)
    n = sh.Range("A" & Application.Rows.Count).End(xlUp).Row + 1
    x = logs.Range("A" & Application.Rows.Count).End(xlUp).Row + 1

    Set wb = Workbooks.Open(arr(i))
    Set dsh = wb.Sheets(1)

    dsh.UsedRange.Copy sh.Range("A" & n)

    ''''' create logs

    logs.Range("A" & x).Value = wb.Name
    logs.Range("B" & x).Value = Application.WorksheetFunction.CountA(dsh.Range("A:A")) - 1

    wb.Close False
Next i
How the loop works
GetOpenFilename(MultiSelect:=True)opens the standard Open dialog. Hold Ctrl to select several files, or select them all. The full path of every selected file is stored in the arrayarr.For i = LBound(arr) To UBound(arr)visits every path without you knowing in advance how many files were picked. In the video I test it first withMsgBox arr(i)to see each path.nis the first empty row on Consolidated_Data andxthe first empty row on Logs. Both are found withEnd(xlUp), the VBA version of Ctrl+Up, plus 1.- Each workbook is opened, its first sheet is assigned to
dsh, andUsedRange.Copypastes everything (headers included) at rown. - The log gets the file name and
COUNTAof column A minus 1, which is the number of records without the header row. wb.Close Falsecloses the source file without saving, so your originals are never changed. Without this line every file stays open, which is exactly what happened in Part 1 before I added it.
Step 4: Remove the extra headers
After the loop, every file has added its own header row. Add this below Next i:
''''''''''' Remove Extra Headers

sh.Range("1:1").Delete

sh.UsedRange.AutoFilter 1, "Date"
sh.Range("A2:A" & Application.Rows.Count).SpecialCells(xlCellTypeVisible).EntireRow.Delete
sh.AutoFilterMode = False- On the first pass the sheet is empty, so
nis 2 and row 1 stays blank. Deleting row 1 moves the first file’s header to the top. - The AutoFilter keeps only rows whose column A says Date, which are the repeated headers (Date is the first header in this data, so change it to your own first header).
- Starting the range at A2 keeps the real header safe, and
SpecialCells(xlCellTypeVisible)deletes only the filtered header rows. AutoFilterMode = Falseremoves the filter again.
Step 5: Format the consolidated table
''''''''' Formatting

With sh.UsedRange
    .HorizontalAlignment = xlCenter
    .VerticalAlignment = xlJustify
    .EntireColumn.ColumnWidth = 15
    .EntireRow.RowHeight = 15
    .Font.Size = 10
    .Font.Name = "Calibri"
    .Borders.LineStyle = xlContinuous
    .Borders.Weight = xlHairline
End With

With sh.Range("A1:I1")
    .Font.Bold = True
    .Interior.Color = vbBlack
End With

End Sub
The first block centres the data, sets column widths, row heights and font, and draws hairline borders. The second block makes the header A1:I1 bold on a black fill. In the video the header font was already white; if yours is not, add .Font.Color = vbWhite inside the second block. Change A1:I1 if your data has a different number of columns.
Assign Consolidate_Data to the Consolidate Data button and save the workbook as a Macro-Enabled Workbook (.xlsm).
Step 6: Run it
Click Clear Data, then Consolidate Data, select your files and click Open. Check the result: the total of Records Updated on the Logs sheet should equal the number of data rows on Consolidated_Data (92 in the video).
Modern Excel Alternative: Power Query
This section is an addition to the video. In Excel 2016 and later you can also combine files with Data → Get Data → From File → From Folder → Combine. Power Query removes the repeated headers for you and refreshes with one click when new files land in the folder. Microsoft explains it in Import data from a folder with multiple files. The VBA macro is still handy when you want to hand-pick files each time and keep a per-file log.
Common Errors and Fixes
These notes are general VBA guidance, added to help you troubleshoot.
Type mismatch when you click Cancel
If you close the file dialog without choosing anything, GetOpenFilename returns False instead of an array, and LBound fails. Add If Not IsArray(arr) Then Exit Sub right after the dialog line.
Some rows are missing in the log count
COUNTA counts non-blank cells in column A. If a file has blanks in column A, use a column that is always filled.
Tips
- Keep the source files closed when you run the macro and keep the consolidation workbook in a different folder.
- Add
Application.ScreenUpdating = Falseat the start (and True at the end) to stop the screen flickering on large batches. (Addition.) - Use the Logs sheet as a quick audit: if a file shows 0 records, it was probably empty or had its data on another sheet.
- Microsoft’s reference for Application.GetOpenFilename lists the file-filter and title options you can add to the dialog.
Want It Ready-Made?
The finished workbook from this tutorial is available as Data Consolidation from Multiple Files in Excel on NextGenTemplates.com. For a lighter version focused on choosing files at run time, see Data Consolidation: Allow User to Select Files on Runtime, or browse all Excel VBA tools.
Related Tutorials
- Data Consolidation: Let Users Select Files at Run Time
- Email Data Consolidation Tool in Excel
- Split Data into Separate Workbooks with a VBA Macro
- Fully Automated Excel Dashboard with Multiple Source Files
- Combine Tables into a Dynamic PivotTable with Power Query
Frequently Asked Questions
How do I combine data from multiple Excel files into one sheet?
Use a VBA macro that lets you pick the files with GetOpenFilename, opens each one, copies its used range below the last row of a master sheet and closes it. Then delete the repeated header rows. Power Query From Folder is a no-code alternative.
Does the macro change my source files?
No. Each source workbook is closed with wb.Close False, which closes it without saving, so the original files stay exactly as they were.
Can I select only some of the files?
Yes. The dialog uses MultiSelect, so you can pick one file, hold Ctrl to pick several, or select all files in the folder.
Why does the macro filter on the word Date?
Date is the first column header in the sample files. Every repeated header row has Date in column A, so filtering on it finds those rows and deletes them. Use your own first header if it is different.
How many files can I consolidate at once?
As many as you can select in the dialog. In the video I mention 100, 200 or even 500 files. The only real limit is the 1,048,576 rows of an Excel sheet.
About the Author
PK is a Microsoft Excel expert and trainer and the founder of PK: An Excel Expert and NextGenTemplates.com. He has been teaching Excel, VBA, Power Query and Power BI since 2016 on his YouTube channel.
Conclusion
Data consolidation from multiple files in Excel becomes a one-click job with this macro: pick the files, let the loop copy and close each one, clear out the repeated headers and format the result. The Logs sheet shows exactly how many records came from every file, so you can trust the total. Build it once and reuse it every day, week or month.