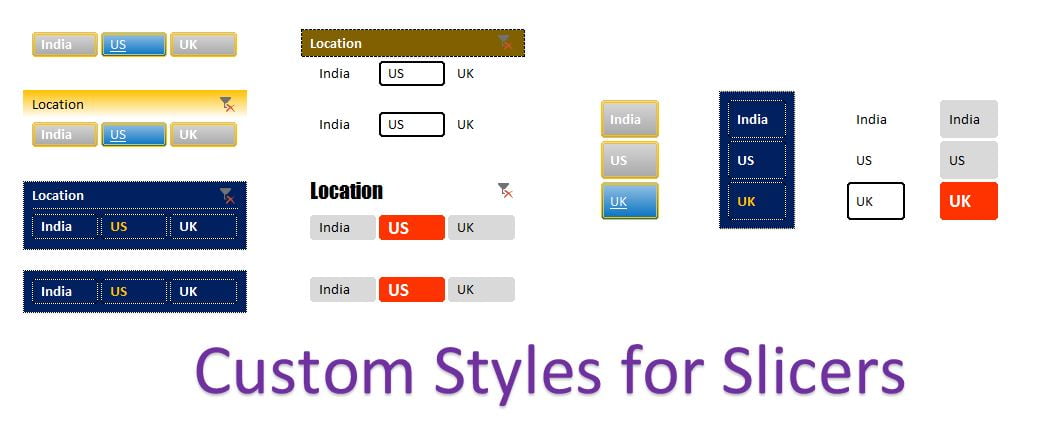
In this article you will learn how to create a Custom Style of a slicer in Excel. By using the custom style in Slicer you can make your slicer based dashboard or report more visually attractive and beautiful.
How to create a custom style for a slicer?
Let’s say we have a slicer for locations.
Custom Style of a slicer in Excel
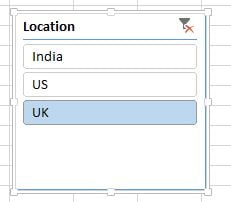
Slicer
- Select the slicer.
- Go to Options>>Slicer Styles>>Click on New Slicer Style.
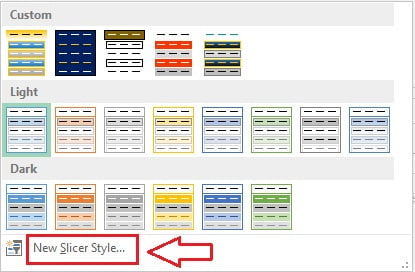
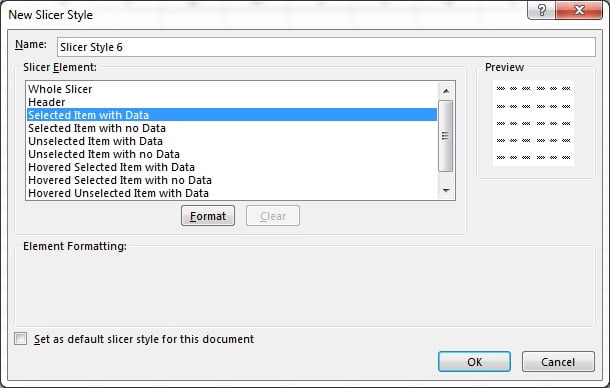
- New Slicer Style window will be opened
- Give the formatting for –
- Whole Slicer
- Header
- Selected Item with Data
- Selected Item with no Data
- Unselected Item with Data
- Unselected Item with no Data
- Hovered selected Item with Data
- Hovered selected Item with no Data
- Hovered unselected Item with Data
- Hovered unselected Item with no Data
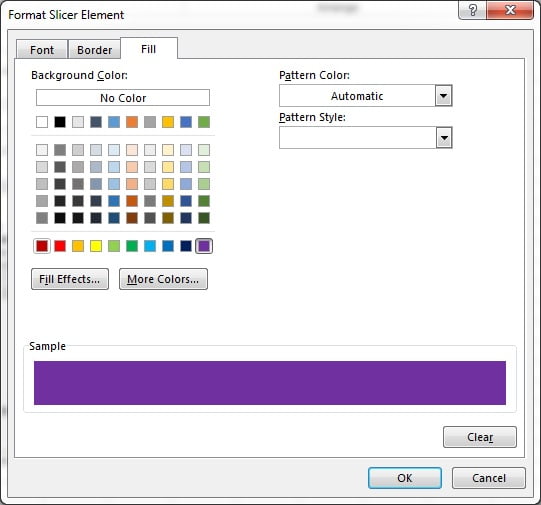
- In the Format Slicer Element window you can give background color, font color, font size, font name, font style and borders etc.
- Once setting is complete of slicer style, it will be available under Custom of Slicers style.
Click here to download this excel file.
Watch step by step video tutorial to learn how to create custom style for a slicer
Visit our YouTube channel to learn step-by-step video tutorials